Getting Started with the Smilo Plugin for Remix
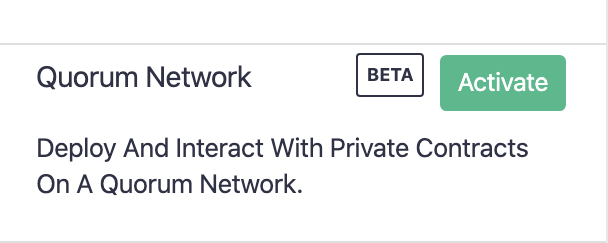
Go to the Remix IDE, click on the Plugins tab, scroll down to Smilo Network, and Activate.
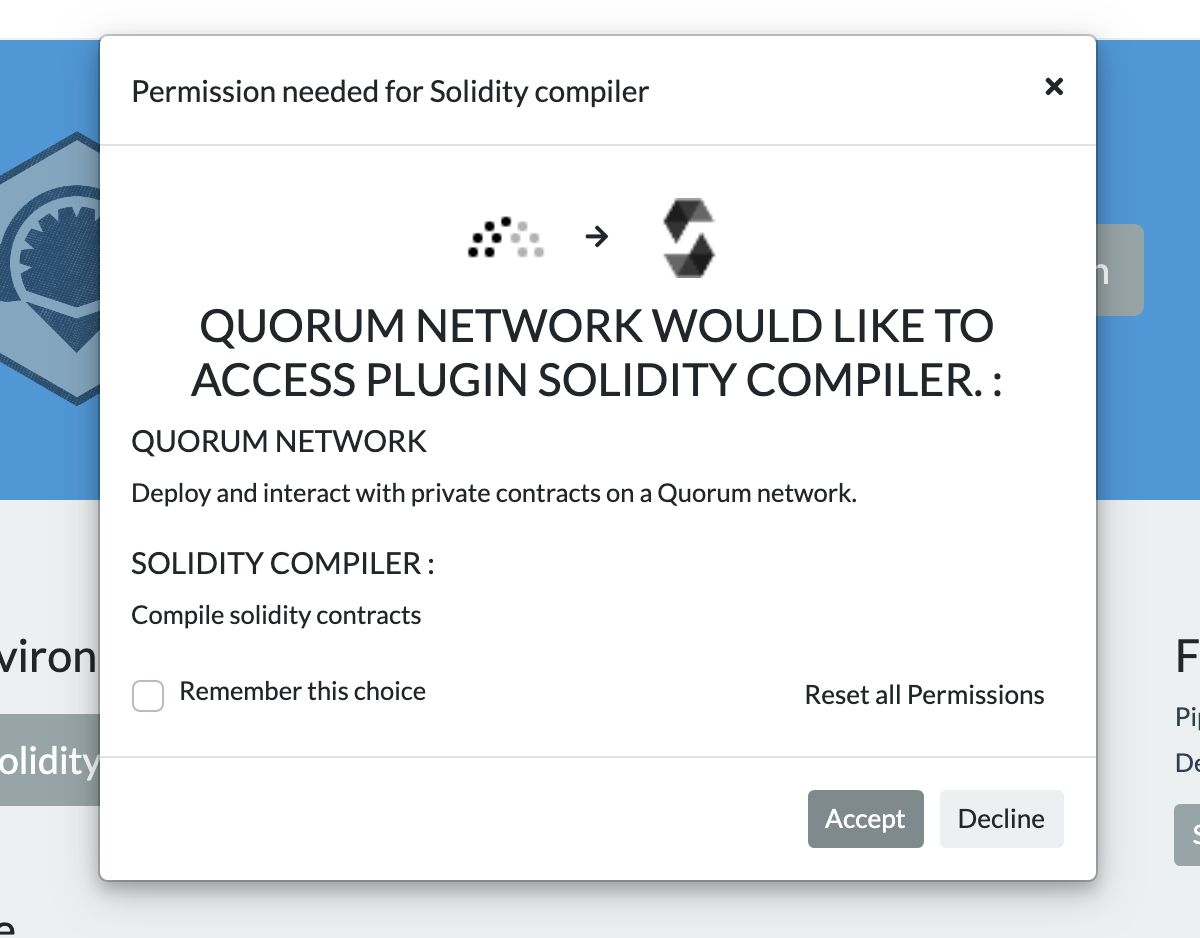
Accept the permission to allow the plugin to retrieve compilation results. This allows our plugin to use the solidity compiler to get the compiled contract binary to deploy to your Smilo node.
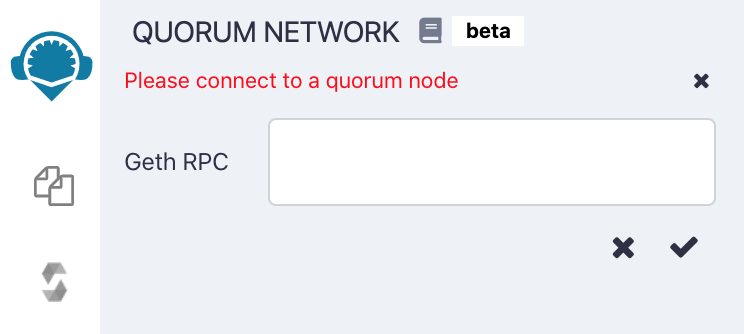
The plugin should now be included in the icons on the left side. Click on the Smilo icon to show the plugin.
Input the Geth RPC url and hit enter. If you are currently running the Smilo-examples 7nodes network, the first node's url is http://localhost:22000
If the node is running, the plugin should now say Connected and the rest of the UI will have appeared.
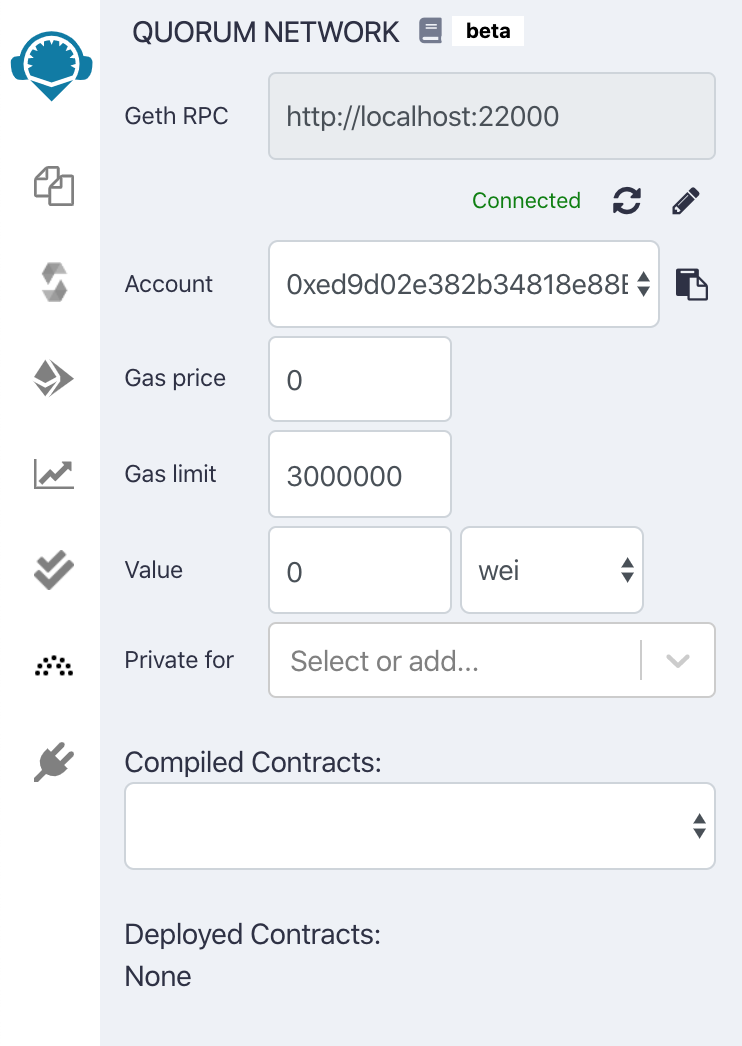
The Smilo plugin uses results from Remix's Solidity compiler, so pull up some contract code and compile it like you normally would in Remix. The plugin will automatically receive the compiled code on each new compilation.
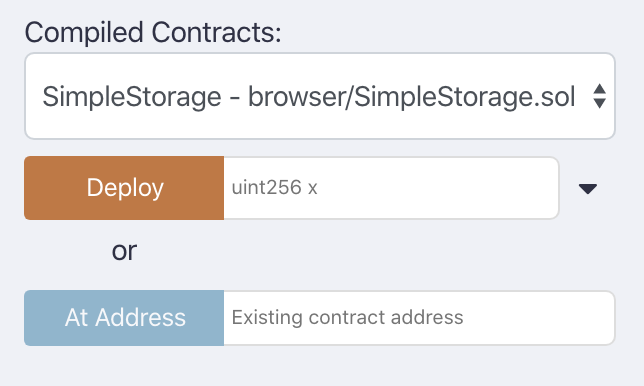
Once you have a contract compiled, it will automatically be selected in the Compiled Contracts dropdown. Input any constructor values and deploy.
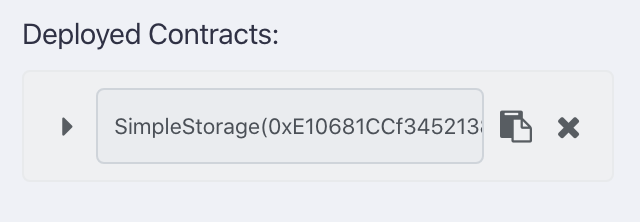
If successful, the contract will show up in a collapsed view under 'Deployed Contracts'. Click the caret to expand.
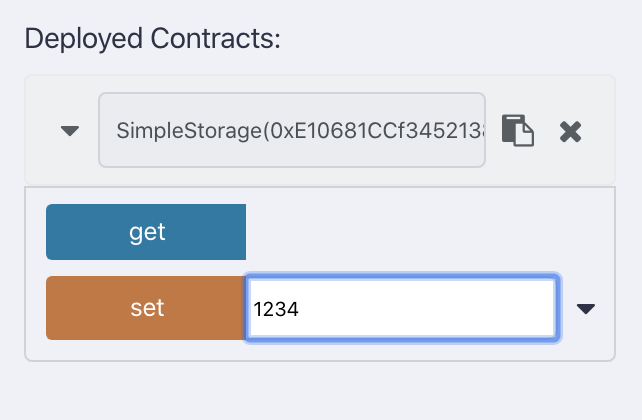
From here you can call methods on the contract.
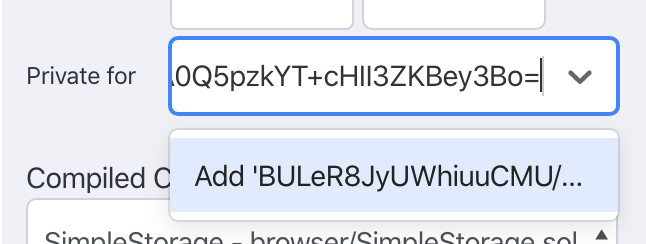
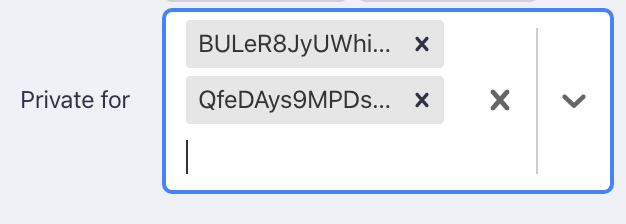
To create a private contract, add your Tessera public keys one at a time to the Private For multi-select box. Press enter after inputting each one to save and select.
Add as many peers as you want, then deploy the contract again like you did in step 7.
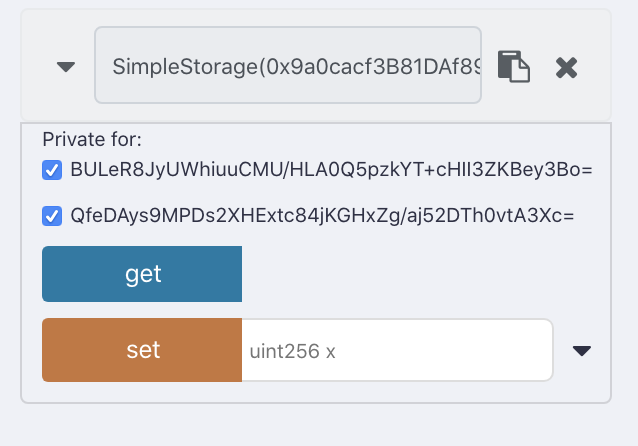
After deploying and expanding the new contract, you should see the public keys that you selected in the widget. Every method call will include the selected keys automatically.
Please open a github issue or reach out to us on our Slack with any feedback or questions!
